A belt that slips on start-up is often blamed on a worn pulley, when the real cause is a take-up sitting 10 to 20 mm short of where it should be. Correct conveyor belt tension is not a single number you can look up in a table. It is a working range: high enough to stop the belt creeping on the drive pulley, low enough to keep splices, bearings and belt edges alive for the full service life of the belt.
This guide explains what tension actually controls, the three tension states worth measuring, field checks that need only a straight edge and a tape measure, and the reasons a belt loses tension over weeks of running.
Why Conveyor Belt Tension Is a Range, Not a Fixed Number
A conveyor drive transmits force through friction, not through grip. The pulley can only pull as hard as the friction between the belt cover and the pulley surface allows, and that limit depends on the wrap angle and the friction coefficient of the lagging. A lagged steel pulley with about 180 degrees of wrap will typically tolerate a tight side to slack side tension ratio of roughly 1.8 to 2.2 before the belt begins to creep.
Two conclusions follow. The slack side tension can never fall close to zero, because the ratio then becomes impossible to satisfy and slip is guaranteed. And adding tension beyond what friction requires does not make the drive stronger, it only loads everything else:
- Carcass stretch that the take-up can no longer recover
- Splice pull-out, especially with mechanical fasteners
- Higher bearing and shaft loads at the drive and tail pulleys
- Faster edge wear where the belt runs against a crowned pulley or a misaligned frame
- Higher motor current and more heat inside the cover compound
The practical target is the lowest tension that still holds a friction margin of about 20 to 30 percent above the calculated requirement, plus a small reserve for start-up.
Three Tension States Worth Knowing Before You Touch the Take-Up
A belt that looks correct at rest can still slip under load, because the three states below are produced by different forces.
Each tension state protects a different part of the drive, so check all three before deciding how far to tighten.
| Tension state |
Typical value |
What goes wrong if it is misjudged |
| Static take-up |
1.2 to 1.5 times the effective tension at the drive |
The belt sags between idlers or slips on the first loaded start |
| Running under load |
Effective tension plus the slack side minimum |
Cover overheating and polished lagging when too tight, creeping when too loose |
| Start-up peak |
Often 1.5 to 2 times the running value |
Splice pull-out and bearing overload on an already tight drive |
How to Measure Conveyor Belt Tension With Basic Tools
Deflection and sag
For rubber and fabric belts on a normal idler spacing of 1 to 1.5 m, measure the sag on the return run midway between two idlers. A straight edge laid across the belt and a tape measure are enough. A sag of about 1 to 2 percent of the span is healthy. Above 3 percent, the take-up is too loose. If the belt barely leaves the straight edge, it is probably over-tensioned.
Elongation and take-up travel
Mark a 1 m length on a clean section of belt, run the conveyor under load for a few hours, then measure the marks again. New rubber belts commonly take 1 to 3 percent permanent stretch in the first 50 to 100 running hours, which is why the take-up needs real travel available rather than a few millimetres. PU belts creep far less.
Slip, sound and current
A belt that chirps on start-up or leaves black marks on the pulley is already slipping. Read the motor current with a clamp meter. A steady rise in amps that follows each take-up adjustment is a clear signal that you have tightened past the point of any benefit.
Setting Initial Tension Step by Step
Once the belt is on and tracking roughly true, tension it in this order:
- Clean the pulley and the belt surface first, because oil, dust and glazing change friction far more than a few millimetres of take-up travel.
- Slacken the take-up until the belt is visibly loose, then run the conveyor empty for 10 minutes so the belt settles onto the pulleys.
- Tighten in small steps, roughly 0.5 percent of the centre distance per step, and check the sag on the return run after each one.
- Load the conveyor gradually and watch the first loaded start for any sign of creep.
- Re-check the sag after 30 minutes of running and again after a full shift, because the belt is still relaxing.
- Record the take-up position and the date in the maintenance log so the next inspection has a baseline to compare against.
Short centre conveyors are the least forgiving. On a light-duty conveyor belt running on small diameter pulleys with a centre distance under 2 m, the wrap angle limits how much force friction can transfer, and over-tightening loads the pulley bearings long before it improves grip.
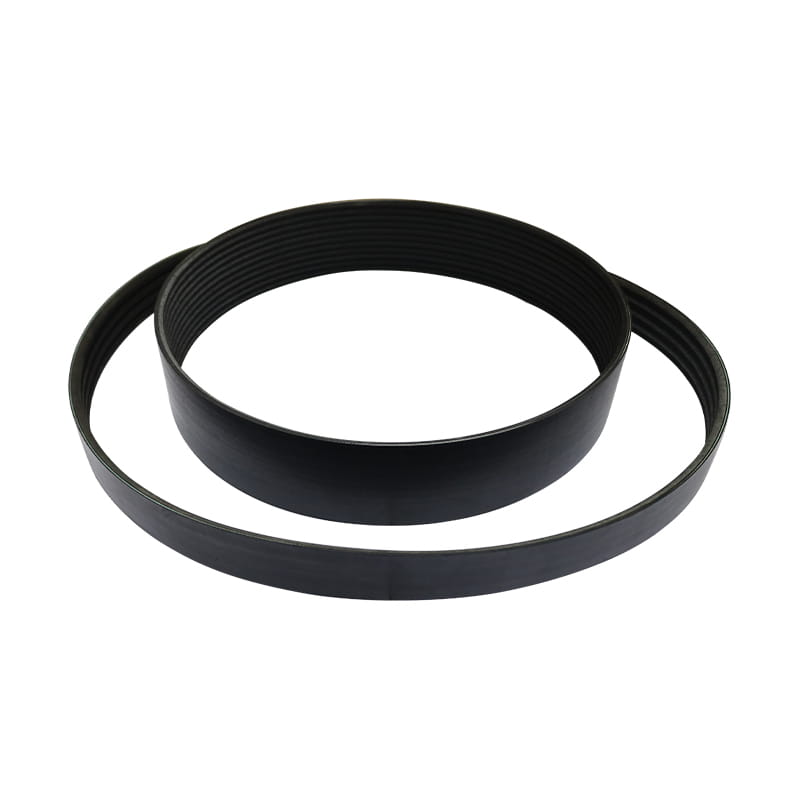
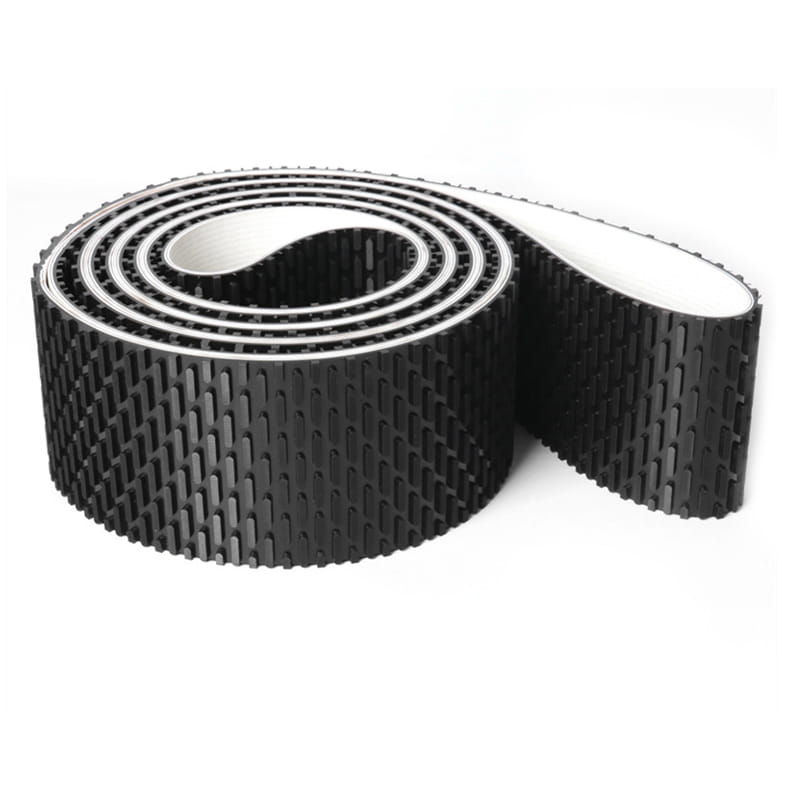
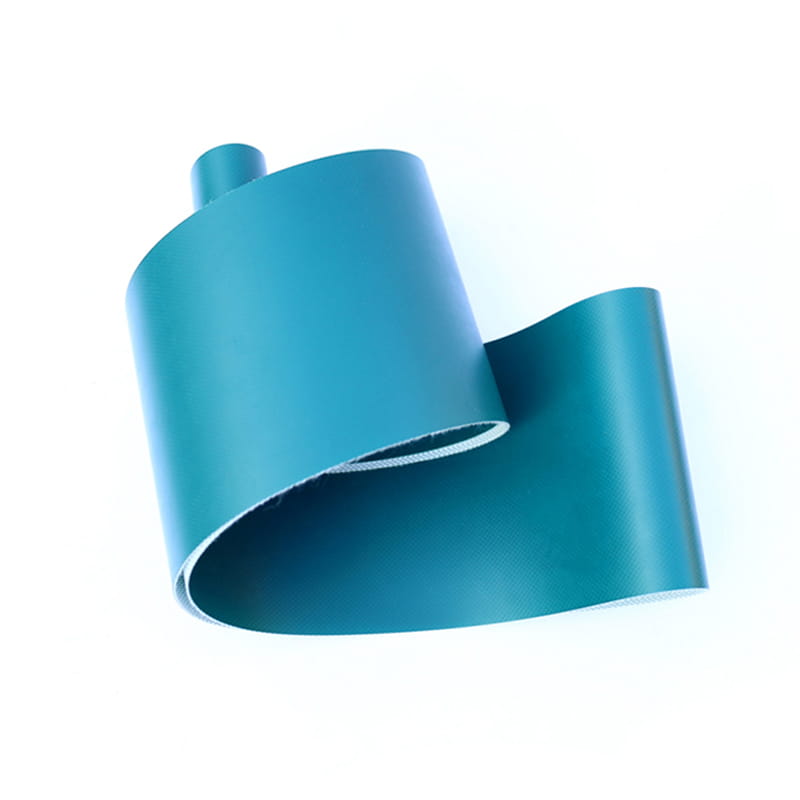 Light Duty Conveyor Belt for Compact Drive SystemsThin, flexible belt for lightweight conveying where short centre distances and small pulleys make correct tension critical.View Product →
Signs of a Belt Running Too Tight or Too Loose
Check the belt against both lists. Two or more matching symptoms on the same side means the take-up should be adjusted in steps of 0.5 percent rather than corrected in one large movement.
- Too loose: the belt creeps or stalls on the drive pulley under full load
- Too loose: black rubber dust builds up and the lagging turns glossy
- Too loose: the belt wanders sideways because it cannot centre itself on crowned pulleys
- Too tight: splice ends lift, or mechanical fasteners pull through the carcass
- Too tight: a high frequency whine develops at the drive bearings
- Too tight: motor current exceeds the nameplate value on a loaded start
Flat Belts and Timing Belts Follow Different Tension Rules
Conveyor belts are tensioned by sag. Flat belts and timing belts are tensioned by elongation or frequency, because they run on smaller pulleys at higher speeds.
An endless rubber flat belt is normally tensioned by stretching it a defined amount, with 0.5 to 1 percent elongation as a common starting point. Mark a length, run the drive, and measure again. Because flat belts also rely on friction, the same rule applies: enough tension to stop slip, and no more. Tracking, not tension, is the usual reason a flat belt climbs off the pulley.
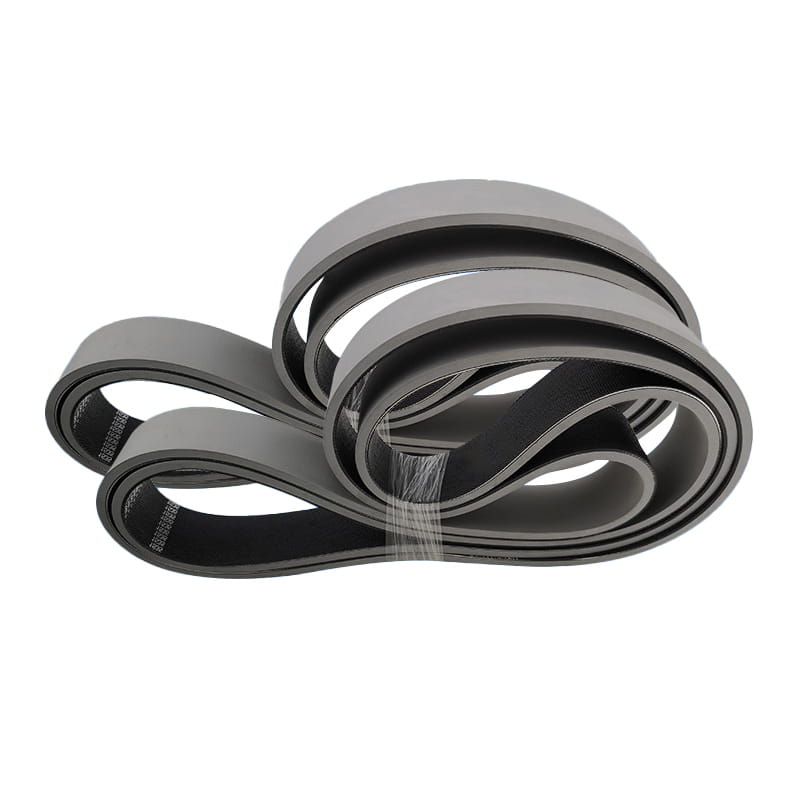
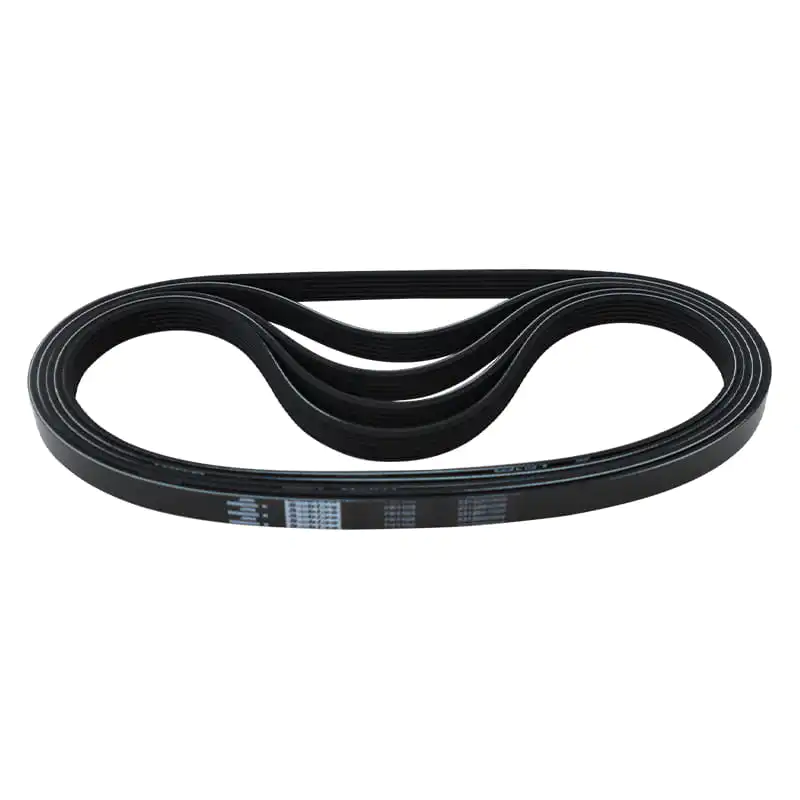
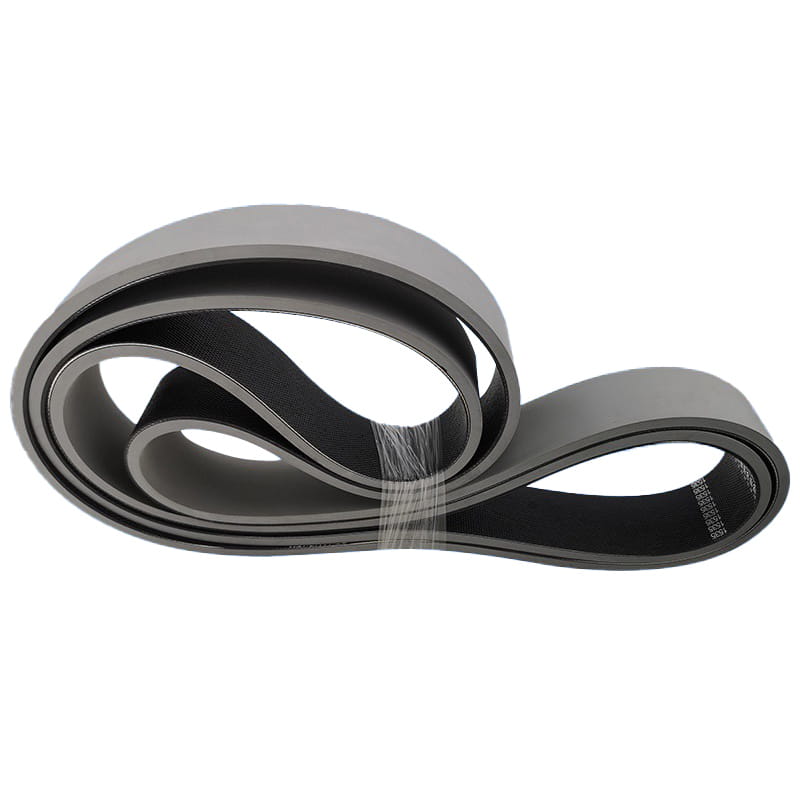 Endless Rubber Flat Belt for High-Speed TransmissionLow-elongation flat belt for textile, woodworking, and grinding machinery; proper tension and clean running surfaces help prevent slip and deviation.View Product →
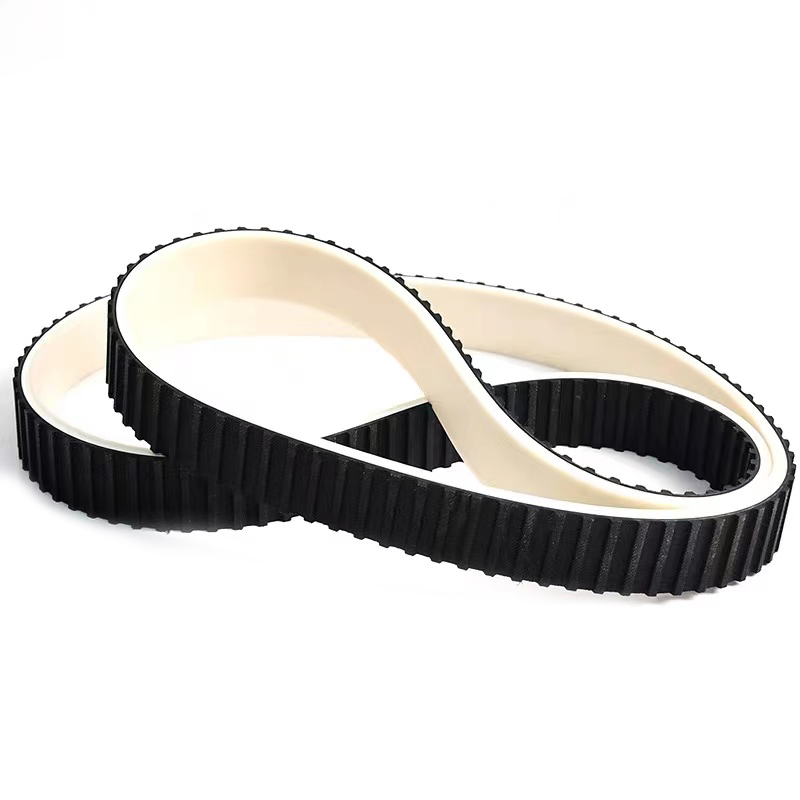
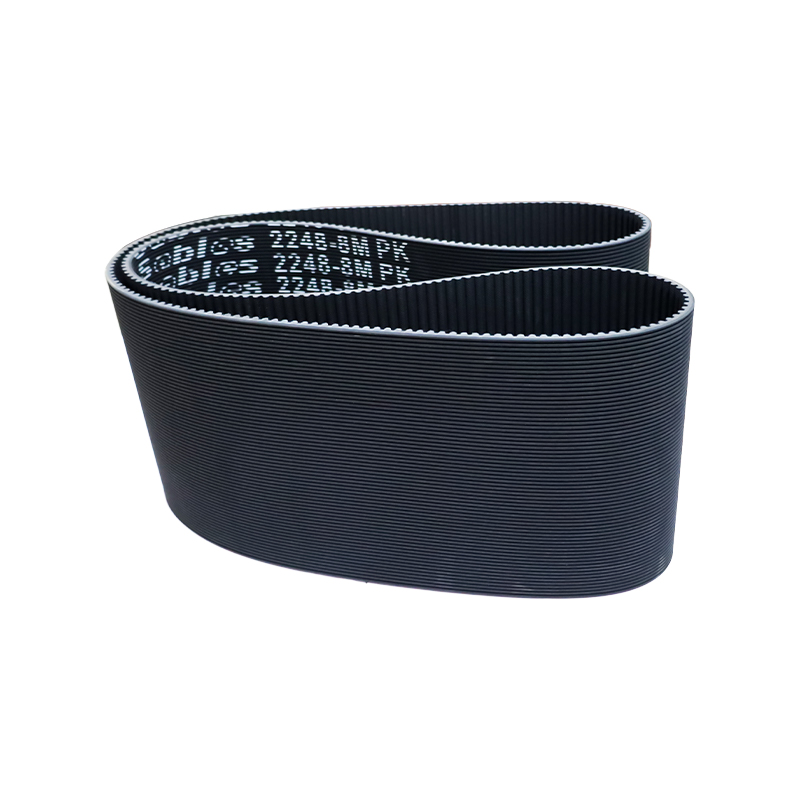
Timing belts transfer load through tooth engagement, so tension only has to keep the teeth seated and the drive quiet. A deflection of about 1.5 percent of the span length under light finger force is a reasonable starting point, then confirm the result by running the drive at the fastest speed the equipment will ever reach. An under-tensioned timing belt jumps teeth. An over-tensioned one wears the pulley flanges and loads the shaft bearings.
What Makes Tension Drop Over Weeks of Running
- Creep and permanent set in the rubber carcass during the first 100 running hours
- Seasonal temperature swings of 30 to 40 degrees, which change belt length and frame geometry
- Moisture pickup in humid plants, which temporarily shortens a nylon carcass
- Cover wear that slightly reduces the effective pulley diameter and alters the drive ratio
- Mechanical fasteners that creep a little each cycle, unlike vulcanised endless splices
- Misaligned idlers that stretch one side of the belt more than the other
These effects are cumulative, which is why tension is best treated as a trend rather than a one-off reading. How a belt is built, including its carcass type, cover compound and joint method, decides how much of that trend the take-up has to absorb. Understanding how rubber conveyor belt design affects tension behaviour helps you judge whether a drive is asking too much of the belt in the first place.
What to Send When You Order a Replacement Belt
Tension problems are often inherited from a belt that was never specified for the drive. When ordering, pass on the following data:
- Pulley diameters and centre distance, not just the belt length
- Belt width and measured length around the pulleys, taken from the machine rather than the old label
- Peak load, belt speed and whether the belt starts loaded
- Ambient temperature and exposure to oil, water or abrasives
- Available take-up travel and the preferred splicing method
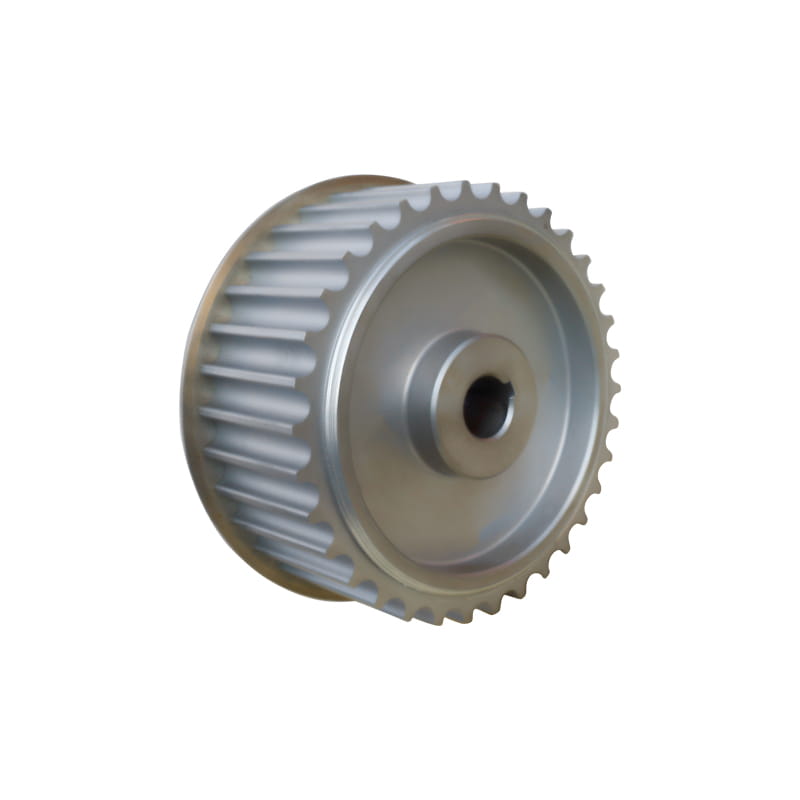
A supplier who can produce both the belt and the matching pulley is easier to work with on tension questions, because the drive geometry itself can be checked rather than assumed.
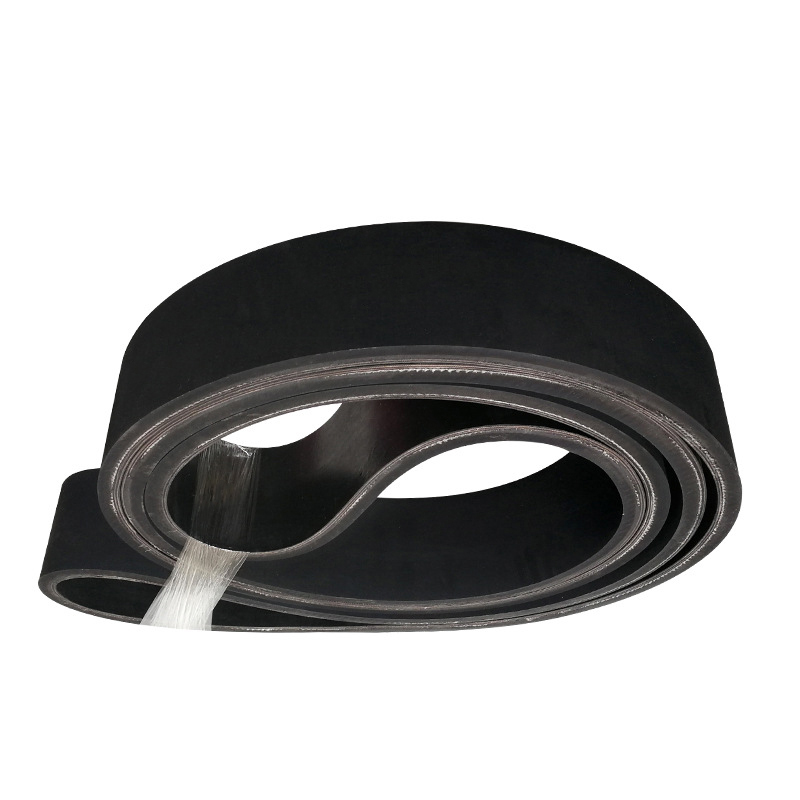
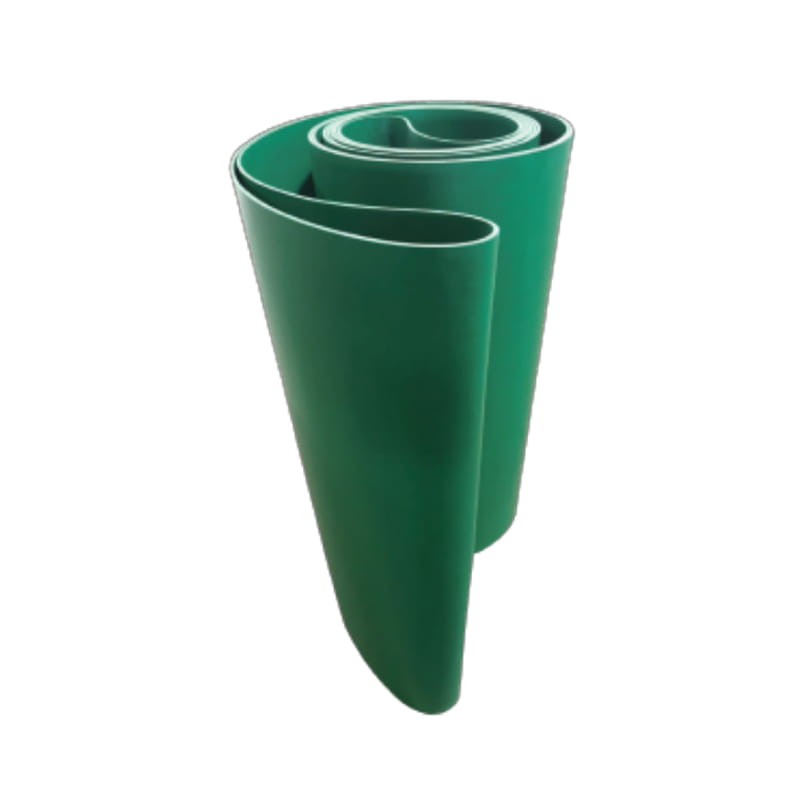 Customizable Rubber Conveyor Belt for Heavy-Duty ConveyingMulti-layer rubber belt with customizable thickness and surface properties, suited to heavy materials and drives where belt and pulley selection affect tension.View Product →
Conveyor belt tension is a maintenance variable, not a fixed specification. Set the lowest tension that keeps friction ahead of load, measure it with the simplest tool that gives a repeatable reading, and record every adjustment so the next person knows what has already been tried. If a belt has run out of take-up travel, the drive needs review before the belt does. You can start by browsing our conveyor belt range or sending the drive data for a matching recommendation.



 中文简体