A packaging line stopped at 2:14 a.m. because a synchronous belt had jumped two teeth. The belt itself cost less than a routine service call. The lost production, rushed troubleshooting, and damaged pulley cost far more. That is why belt maintenance should not begin when a belt starts squealing. It should begin with a baseline, a tension check, and a clear view of the whole drive. The conclusion is simple: most premature belt failures are caused by the system around the belt, not by the belt material alone. Tension, alignment, pulley wear, contamination, and storage decide whether a belt reaches its expected service life.
Start With a Baseline, Not a Guess
Before a belt is installed, record what the drive needs. Belt type, tooth profile, pitch, width, length, material, and operating temperature are basic data, but many maintenance teams inherit a machine with no history. A missing baseline leads to guesswork at the worst moment. If a replacement belt is selected only by length, the drive may run for a week and fail again.
What to record
- Belt identification: brand, part number, tooth profile, pitch, and width.
- Drive geometry: pulley diameters, center distance, and number of teeth on each pulley.
- Tension value: frequency in hertz or deflection force in newtons, as specified by the belt supplier.
- Operating conditions: ambient temperature, dust, oil, water, and shock load.
- Service history: installation date, running hours, and reason for removal.
This record turns maintenance from reaction into comparison. When a belt fails early, the team can check whether tension drifted, a pulley wore, or the environment changed. Without it, every failure looks like a belt quality problem.
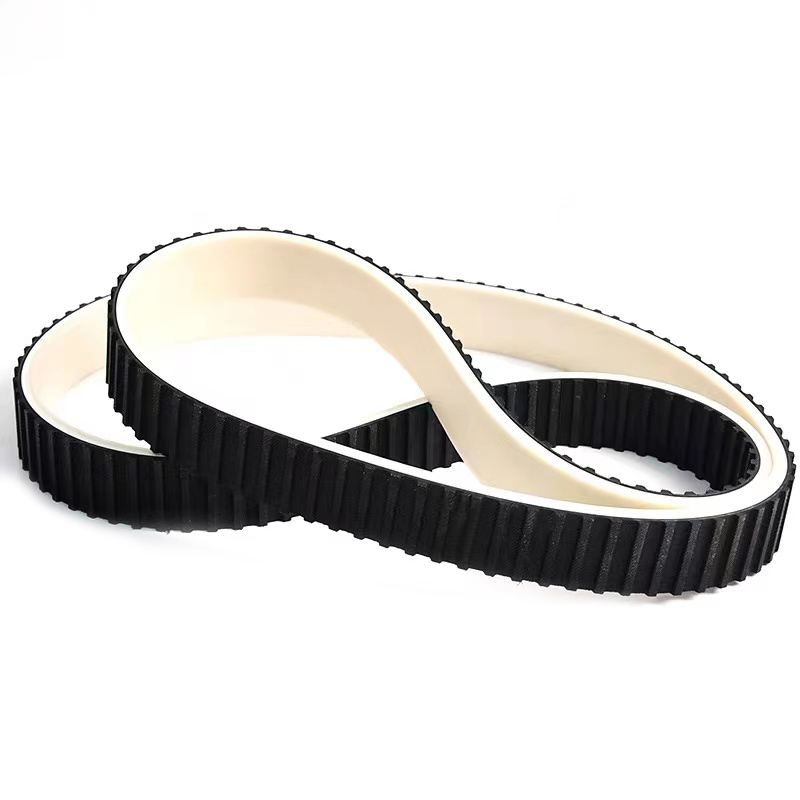
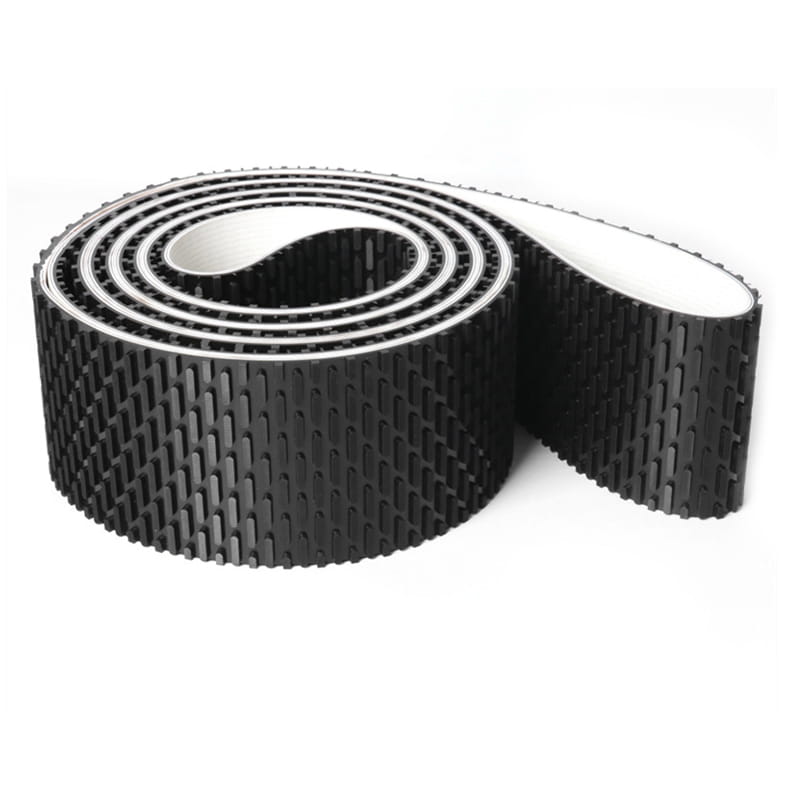
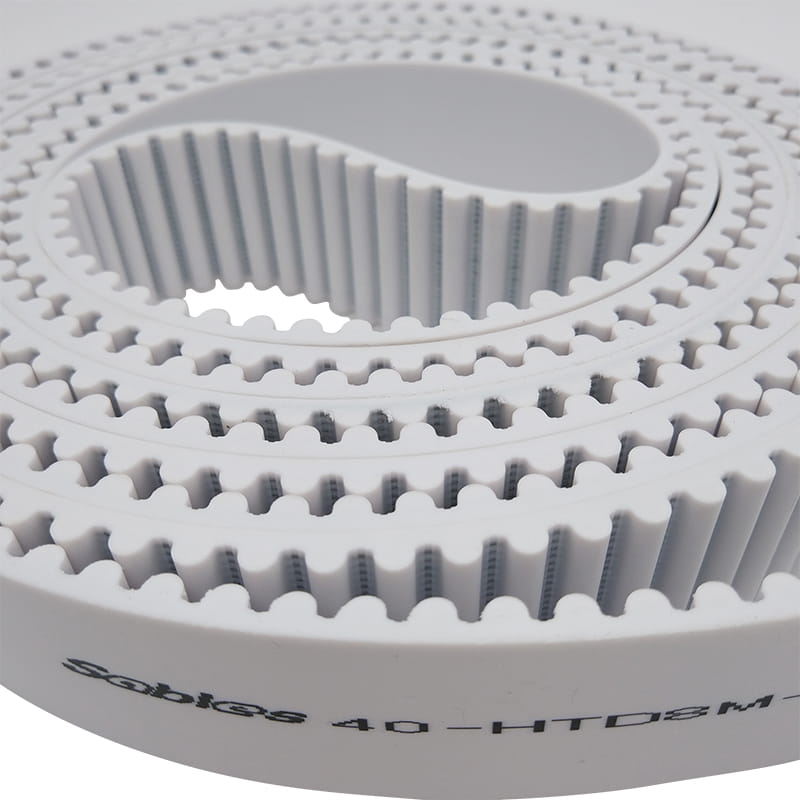 PU Synchronous Belt for Precise Positioning and ConveyingPolyurethane timing belt for precise positioning and conveying; reinforced cord, low noise, wear resistance, and oil-contact limits merit review.View Product →
Inspection: Read the Belt Before It Fails
Inspect belts while the machine is locked out and cool. Look at all sides of the belt, not only the tooth side. A clean belt that shows glazing, missing teeth, or exposed cords is often telling you about misalignment or overload. For a deeper reference, an industrial synchronous belt maintenance guide can help connect damage patterns to root causes.
Common belt damage patterns and likely causes
| Symptom |
Likely cause |
Action |
| Polished tooth flanks |
Low tension or pulley wear |
Check tension and pulley tooth profile |
| Missing teeth |
Shock load or foreign object |
Inspect driven equipment and guards |
| Edge fraying |
Misalignment or flange rub |
Realign drive and check pulley flanges |
| Backside cracks |
Small pulley diameter or age |
Verify minimum pulley diameter and storage age |
| Oil swelling |
Contamination |
Find leak, clean drive, select oil-resistant belt if needed |
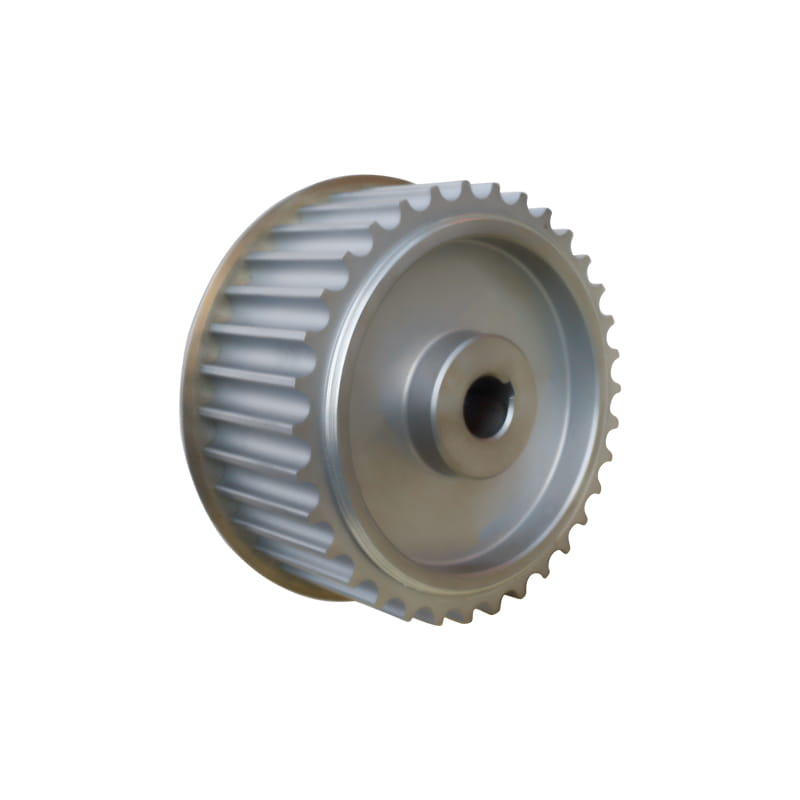
Do not stop at the belt. Run a straightedge across pulley faces, check for wobble, and feel for bearing play. A worn pulley can destroy a new belt in days, especially on high-load synchronous drives.
Tension and Alignment: The Two Adjustments That Decide Belt Life
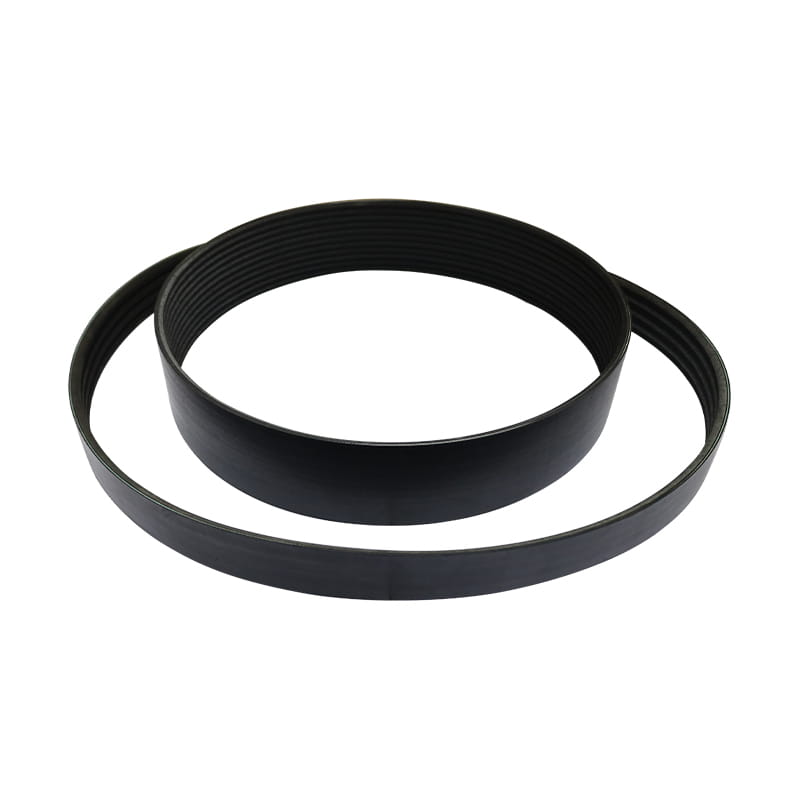
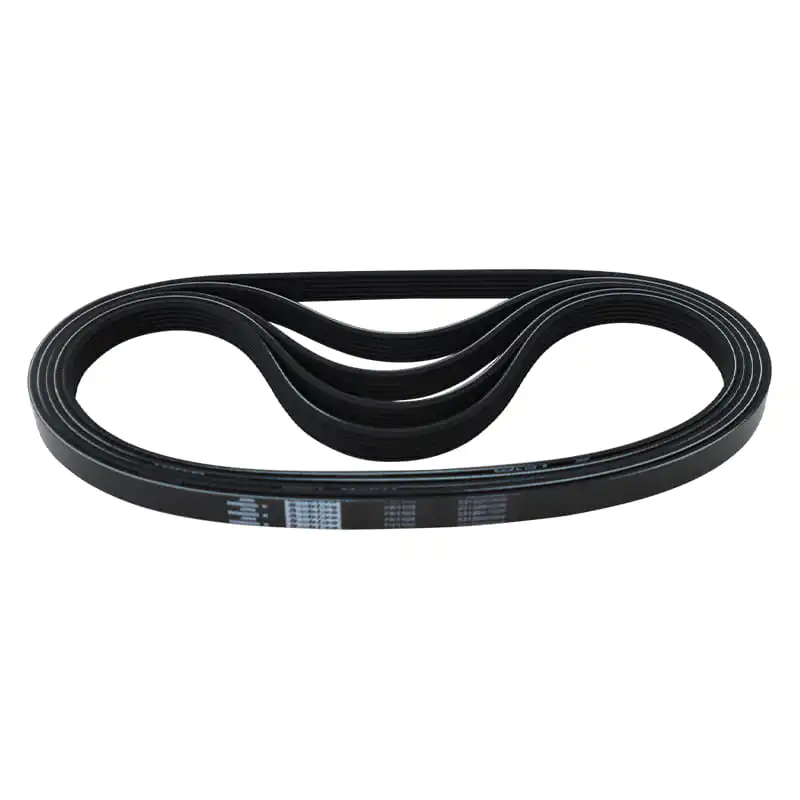
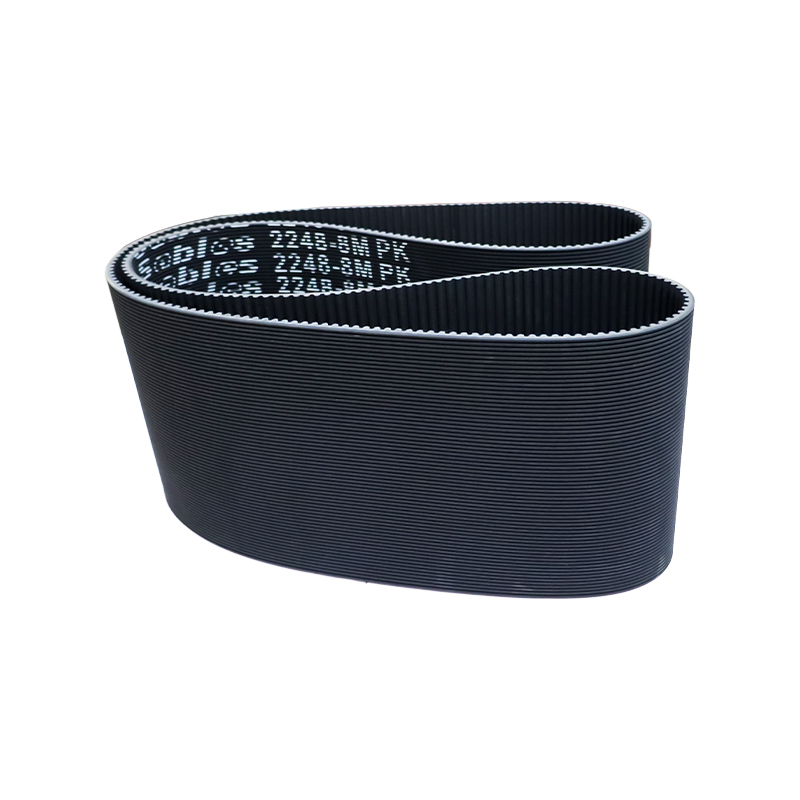
Correct tension is not the tightest setting that stops noise. Too loose, a synchronous belt can jump teeth under load. Too tight, it overloads bearings, stretches the cord, and raises motor current. For V-belts and ribbed belts, the same rule applies: use the supplier tension table, not a thumb test. For a drive using rubber timing belts, a frequency meter or sonic tension gauge is more reliable than pressing the belt by hand.
Practical targets
- Align the drive first. Common targets are angular misalignment under 0.5 degrees and parallel offset under 0.5 mm per 100 mm of center distance.
- Set tension to the middle of the supplier range, then run the drive under normal load for 30 minutes.
- Recheck tension after the break-in period. New belts often relax as they seat into the pulley grooves.
- Record the final value so the next inspection compares against a known number.
Alignment affects more than belt wear. It changes load distribution across the belt width, bearing temperature, and noise. On a two-pulley drive, a laser alignment tool pays for itself when it prevents repeated belt replacement on a critical machine.
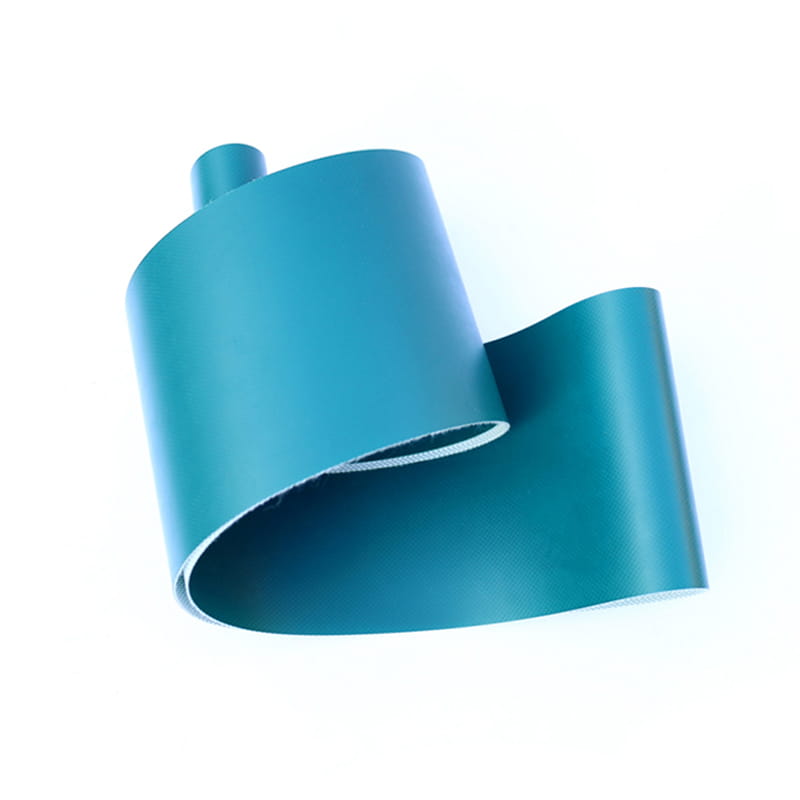 Light Duty Conveyor Belt for Compact Transmission and TransportLight-duty rubber, PVC, or PU conveyor belt options for compact drives, logistics, food, medical, and processing lines; check alignment, buildup, and cleaning effects.View Product →
Cleaning, Environment, and Storage
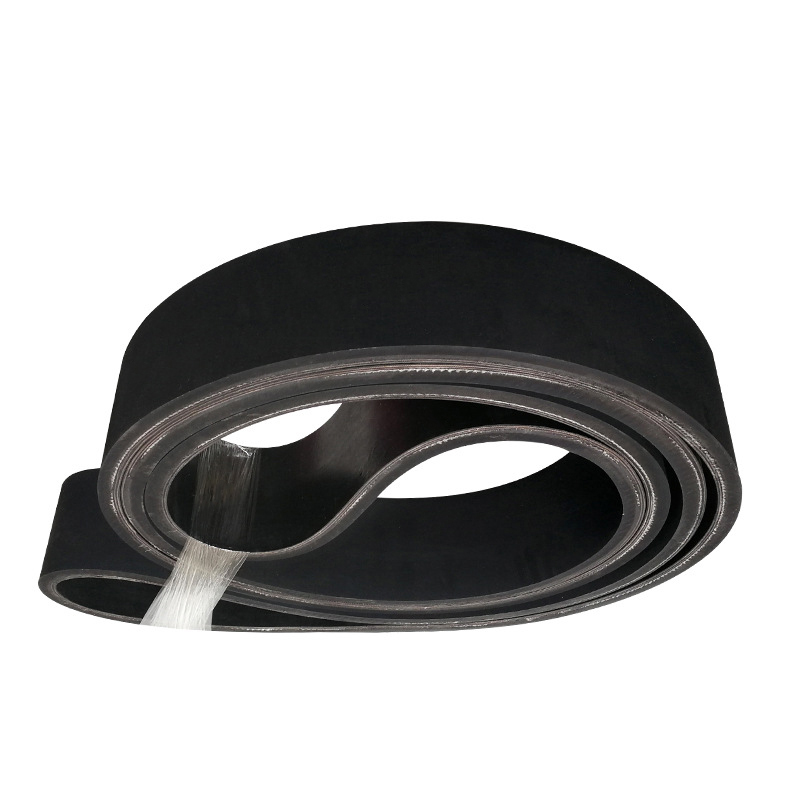
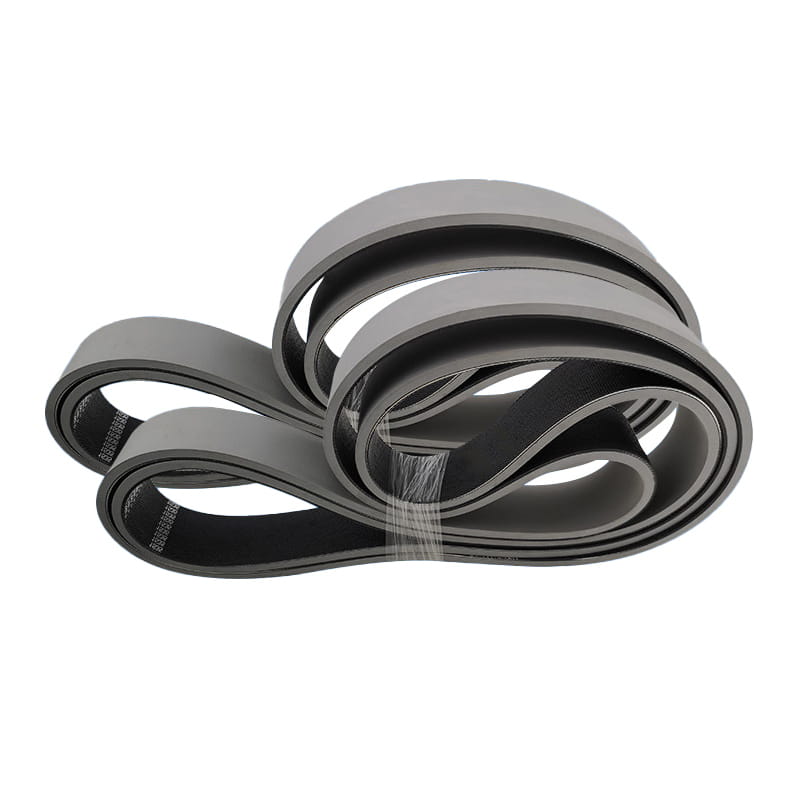
Belt maintenance also includes what the belt touches. Dust, oil, metal chips, and cleaning chemicals can attack rubber, polyurethane, or silicone compounds at different rates. On a conveyor line, material buildup on rollers and pulleys changes effective diameter and tracking. A light-duty conveyor belt may run well for months in a clean room and fail quickly in a foundry if the same cleaning method is used.
Common mistakes
- Using solvent or high-pressure steam on belts unless the supplier approves it.
- Storing belts in direct sunlight, near motors, or in ozone-producing electrical equipment.
- Hanging a belt on a small nail, which creates a sharp bend and a permanent weak point.
- Forcing a belt over a pulley with a screwdriver or pry bar.
- Ignoring ambient temperature. A belt rated for 80 C may harden quickly at 110 C.
Clean with a mild soap solution and a soft brush when the belt material allows it. Rinse and dry before restarting. Store spare belts in a cool, dark, dry place, and support large belts so they keep their natural shape.
Replacement Decisions: Repair or Replace
Replace the belt when damage reaches the load-carrying cords, when teeth are missing across more than a short section, or when the belt has taken a permanent set. Replace the pulley when grooves are worn, flanges are bent, or the tooth profile no longer matches the belt. On multi-belt drives, replace all belts as a set. Mixing an old stretched belt with new ones changes load sharing and can cause the new belt to fail first.
For purchasing, confirm more than length. Check tooth profile, pitch, width, material, temperature range, oil resistance, and antistatic properties if the application requires them. A belt that is dimensionally correct but chemically wrong can fail within weeks. For critical equipment, keep one complete set of spares and a written installation procedure with tension values.
Maintenance Schedule That Works
A calendar alone is weak because belt life depends on load, temperature, and contamination. Build a schedule around running hours and inspection findings. In a clean packaging room, monthly checks may be enough. In a dusty woodworking plant, weekly cleaning and tension checks are more realistic.
- Daily or per shift: listen for squeal, check tracking, and remove visible debris.
- Weekly: inspect belt edges, pulley grooves, and guard clearance.
- Monthly: check tension, alignment, bearing play, and motor current.
- Quarterly: review service records and replace belts showing repeated wear patterns.
- Annually: inspect the complete drive, including pulleys, shafts, and mounts.
Trend data matters. If tension drops faster after each adjustment, the belt may be stretching or the drive may be misaligned. If current rises while output stays flat, bearing drag or over-tension may be the cause. These signals are easier to act on than a sudden failure.
Final Takeaway
Belt maintenance protects uptime more than it protects the belt. Set tension to the supplier value, align the pulleys, keep contaminants out, and replace worn pulleys with the belt. Record what you find so the next inspection starts with facts. A belt that is installed correctly, tensioned correctly, and checked on a realistic schedule will usually deliver its full service life. The alternative is another 2 a.m. call, a rushed replacement, and the same failure repeated.



 中文简体
中文简体