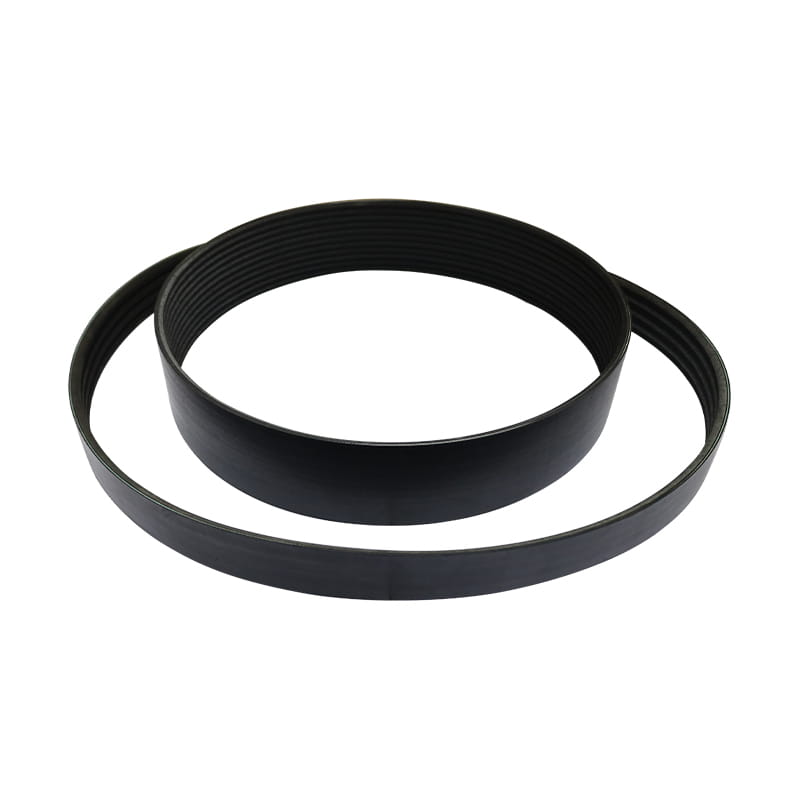
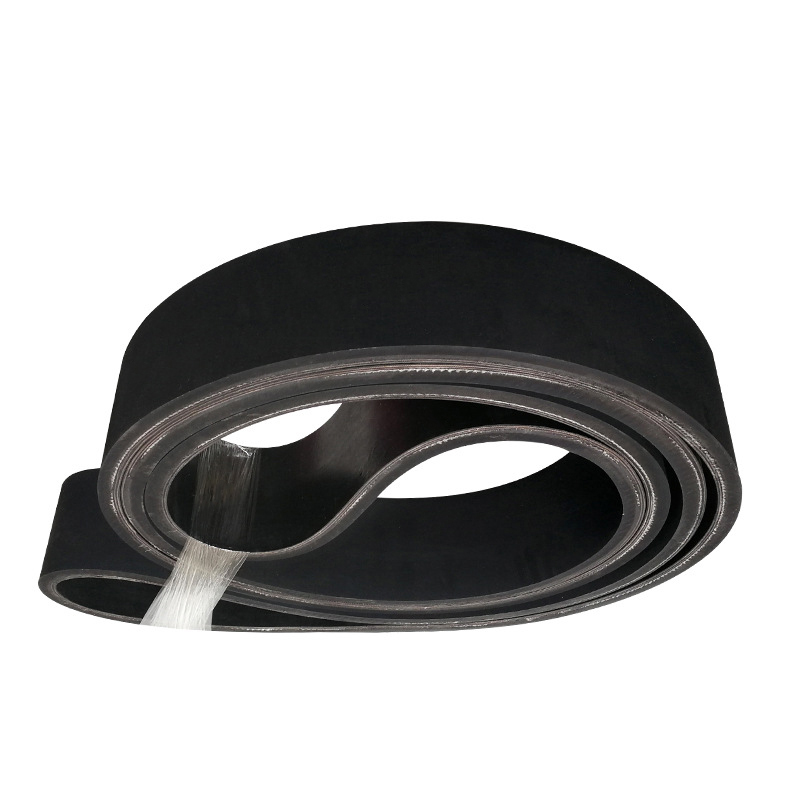
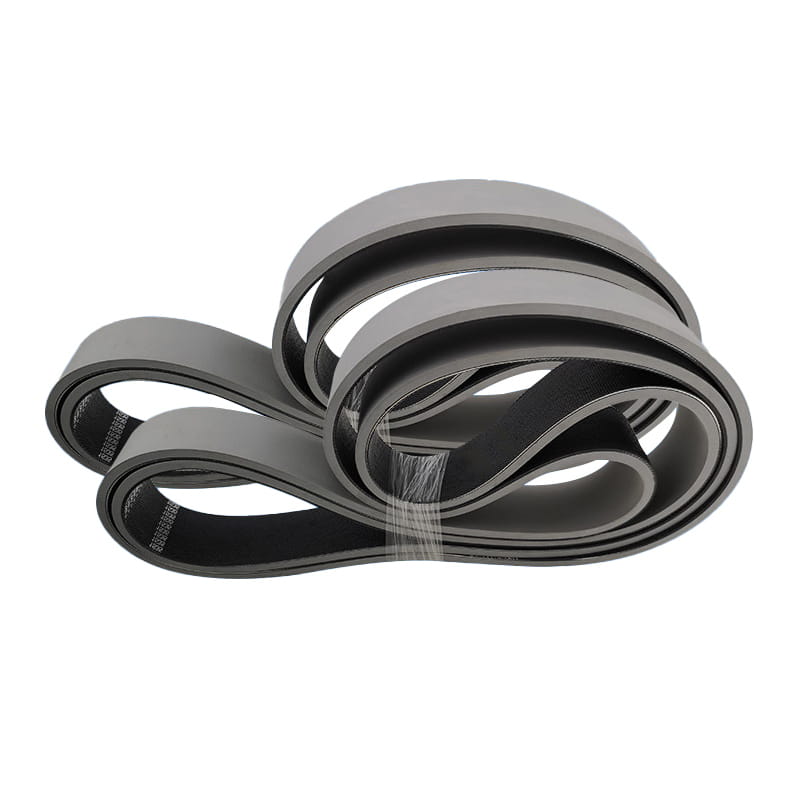
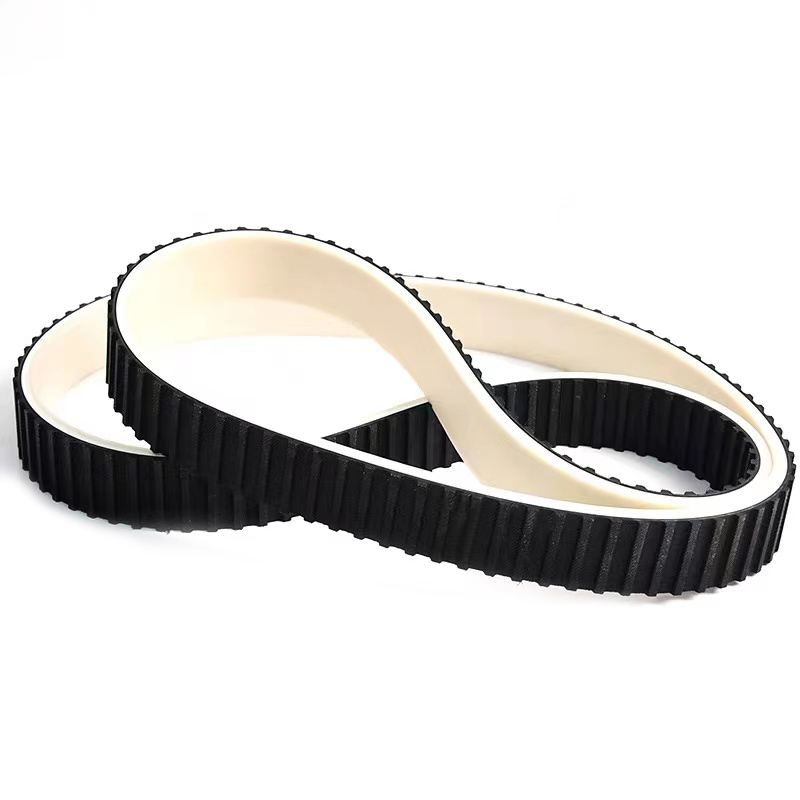
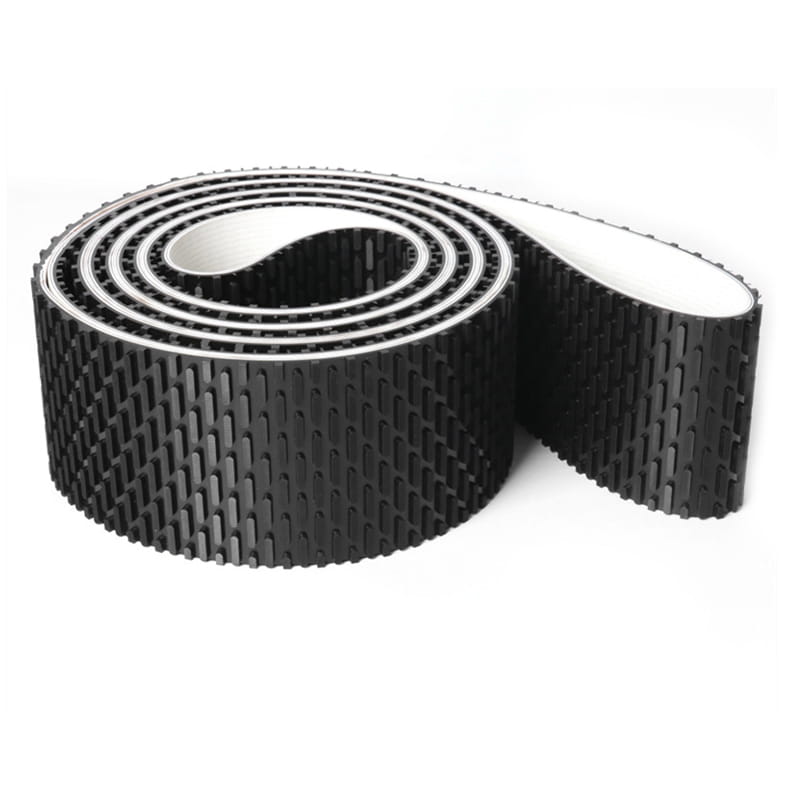
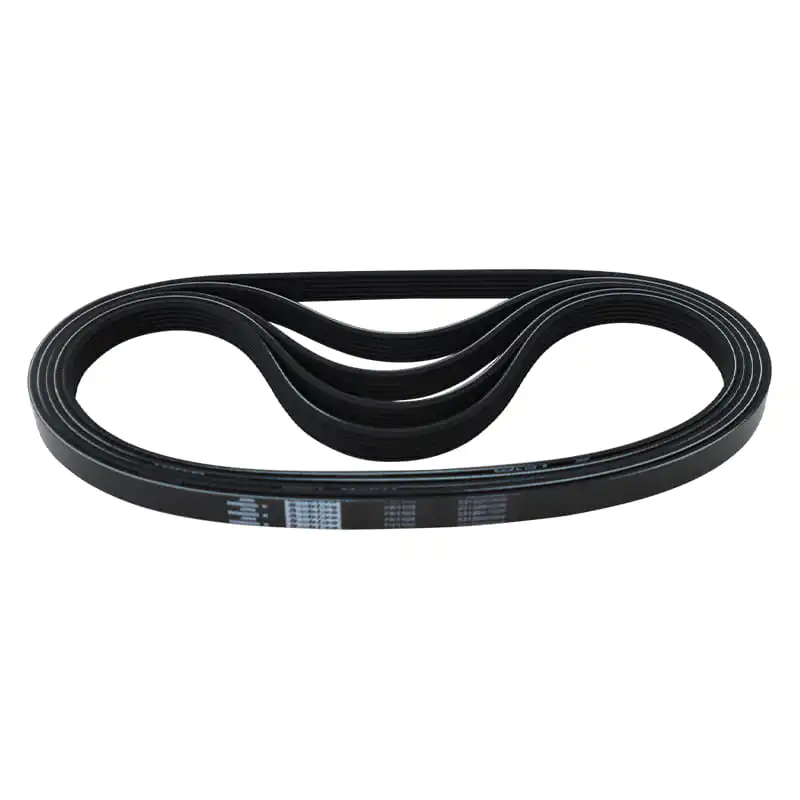
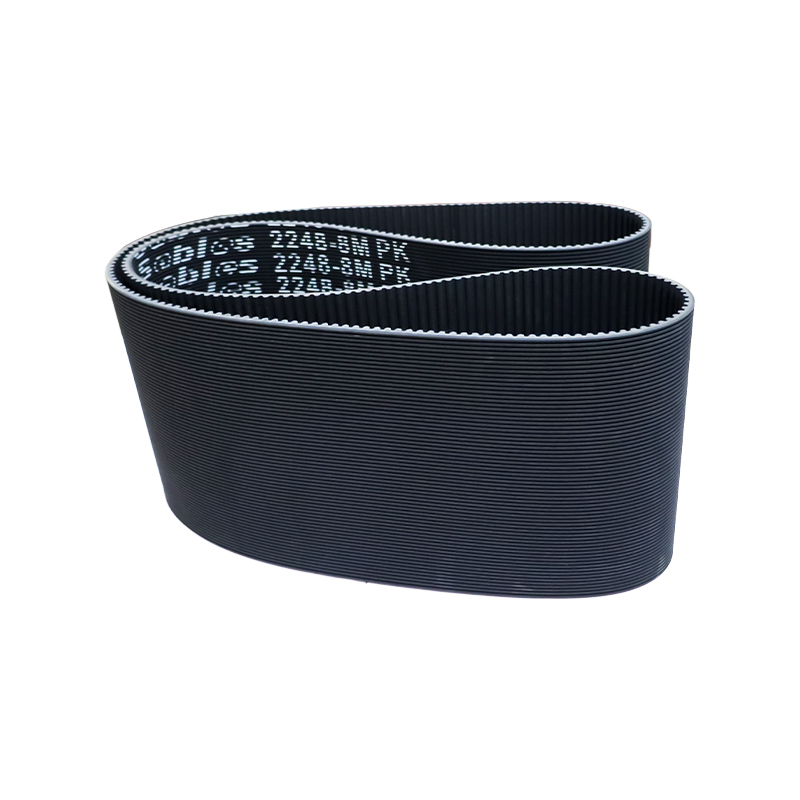
Using rubber timing belts correctly involves selecting the right belt size and tooth profile for the application, aligning the pulleys precisely, applying correct belt tension, and following a regular inspection schedule to catch wear before it leads to failure. Skipping any of these steps often leads to premature belt wear, slipping, or unexpected downtime, even when the belt itself is high quality. Mechanical engineering guidelines commonly referenced in power transmission applications indicate that improper tension accounts for a significant share of premature timing belt failures, making correct installation technique just as important as selecting a quality belt in the first place.
Selecting the Correct Belt Size and Tooth Profile
Choosing the right belt specification is the first and most important step, since even a perfectly installed belt will underperform if its size or tooth profile does not match the pulley system it is intended to drive.
Key Selection Factors
- Belt pitch must match the tooth spacing on the pulleys exactly to ensure proper engagement
- Belt width should align with the pulley width to support the expected load without excessive edge wear
- Overall belt length must be measured precisely to achieve correct tension once installed
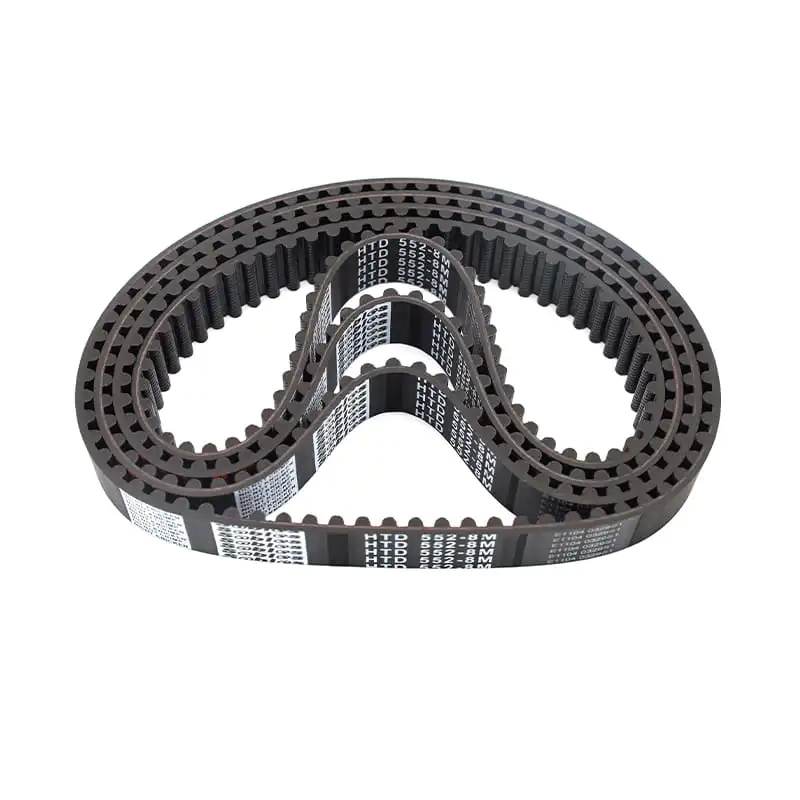
Selecting properly specified Rubber Timing Belts that match the exact tooth profile and pitch of the drive system prevents the uneven tooth engagement that commonly leads to premature wear or slipping under load.
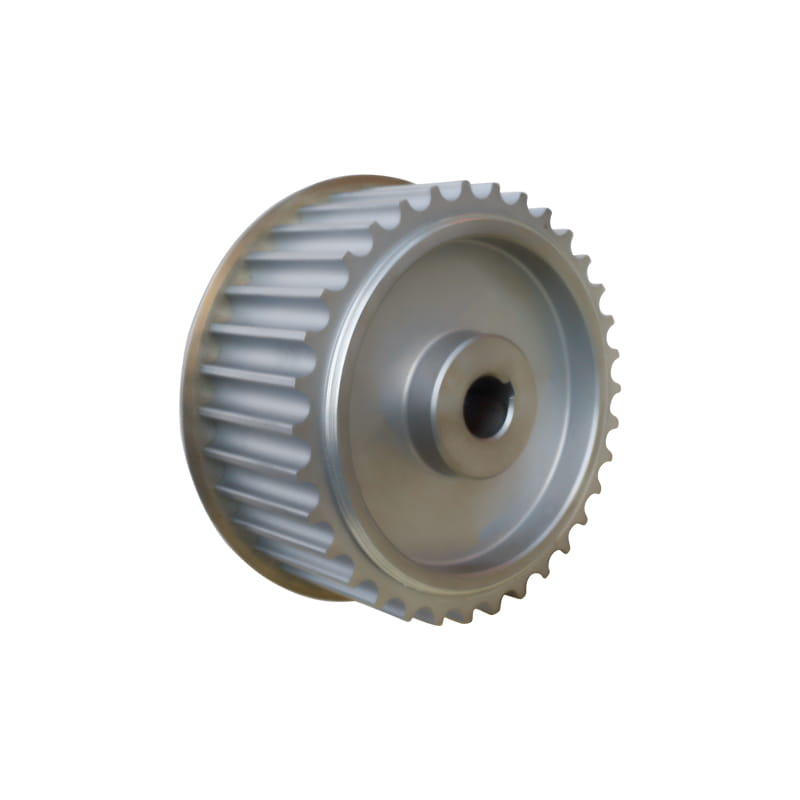
Preparing Pulleys Before Installation
Before installing a new belt, inspecting and preparing the pulleys themselves helps ensure the belt operates smoothly from the very first cycle, rather than working against pre-existing wear or misalignment.
Pulley Inspection Checklist
| Inspection Point |
What to Check |
| Tooth condition |
Look for worn, chipped, or rounded pulley teeth |
| Surface cleanliness |
Remove old belt debris, oil, or grease buildup |
| Bearing condition |
Confirm smooth rotation without wobble or noise |
Installing a new belt onto worn or damaged pulleys often transfers that wear pattern onto the new belt quickly, significantly shortening its expected service life regardless of belt quality.
Aligning Pulleys for Proper Belt Tracking
Pulley alignment directly affects how evenly a timing belt tracks and wears during operation, and even small misalignments can cause noticeable performance issues over time.
Common Alignment Issues
- Parallel misalignment, where pulley shafts are not perfectly parallel to each other
- Angular misalignment, where pulleys are tilted relative to one another along the belt path
- Offset misalignment, where pulleys are shifted laterally out of the same belt plane
Using a straightedge or laser alignment tool to verify pulley positioning before final installation helps prevent the uneven edge wear and tracking noise that commonly result from even minor alignment errors.
Setting Correct Belt Tension
Belt tension is one of the most critical factors in timing belt performance, since both overly loose and overly tight installations create distinct problems that shorten belt life and reduce system reliability.
Effects of Incorrect Tension
Too Loose
Insufficient tension allows the belt to slip on the pulley teeth under load, causing timing inaccuracies in precision applications and generating excess heat from friction between the belt and pulley surfaces.
Too Tight
Excessive tension places unnecessary stress on both the belt and the bearings supporting the pulleys, often leading to premature bearing failure and accelerated belt fatigue from the added mechanical load.
Most manufacturers provide a recommended tension range measured through deflection testing, and following this specification closely helps achieve the balance needed for reliable, long-term belt performance.
Running the Initial Break-In Period
Newly installed timing belts often benefit from a short break-in period, allowing the belt material to settle into its operating position before running at full continuous load.
Recommended Break-In Practices
Running the system at reduced speed or load for a short initial period, followed by a tension recheck, helps account for any minor settling that occurs as the belt seats fully onto the pulley teeth during its first operational cycles.
Rechecking Tension After Break-In
Tension often decreases slightly after the initial break-in period as the belt material settles, making a follow-up tension check an important step to ensure the system continues operating within the manufacturer's specified range.
Routine Inspection and Maintenance During Use
Ongoing inspection helps catch developing wear or damage before it leads to unexpected belt failure, particularly in continuous-duty industrial applications where downtime carries significant operational cost.
What to Look For During Inspection
- Visible cracking or fraying along the belt's rubber surface or tooth edges
- Unusual noise during operation, which can indicate slipping, misalignment, or tooth damage
- Visible glazing or shiny surface areas, often a sign of excessive slipping under load
Establishing a routine inspection schedule for Rubber Timing Belts in continuous-use equipment helps identify these early warning signs before they progress into a full belt failure that could halt production or cause secondary equipment damage.
Environmental Factors That Affect Belt Performance
Operating environment plays a significant role in timing belt longevity, since exposure to extreme temperatures, oil, or chemical contamination can accelerate rubber degradation beyond normal wear expectations.
Common Environmental Stressors
Excessive heat can cause rubber compounds to harden and crack prematurely, while oil or grease contamination can cause the belt material to swell or lose grip on pulley teeth, both of which significantly shorten expected service life if not addressed through proper environmental protection or belt material selection.
When to Replace a Timing Belt
Even with proper installation and maintenance, timing belts have a finite service life, and recognizing when replacement is due helps prevent unplanned failures during operation.
Signs Replacement Is Needed
Visible cracking across multiple teeth, noticeable tooth wear or missing tooth sections, and persistent tracking issues that resist realignment correction are all indicators that a belt has reached the end of its usable service life and should be replaced proactively.
Who Should Follow These Practices Closely
Maintenance technicians, machine operators, and equipment engineers responsible for belt-driven systems in manufacturing, packaging, or automotive applications should follow these installation and maintenance practices as standard procedure. Facilities running continuous-duty equipment particularly benefit from establishing a documented inspection schedule, since consistent monitoring helps catch developing issues early and supports more predictable maintenance planning across the full operational lifespan of the equipment.



 中文简体
中文简体